Overmolded Cable Assembly Manufacturer
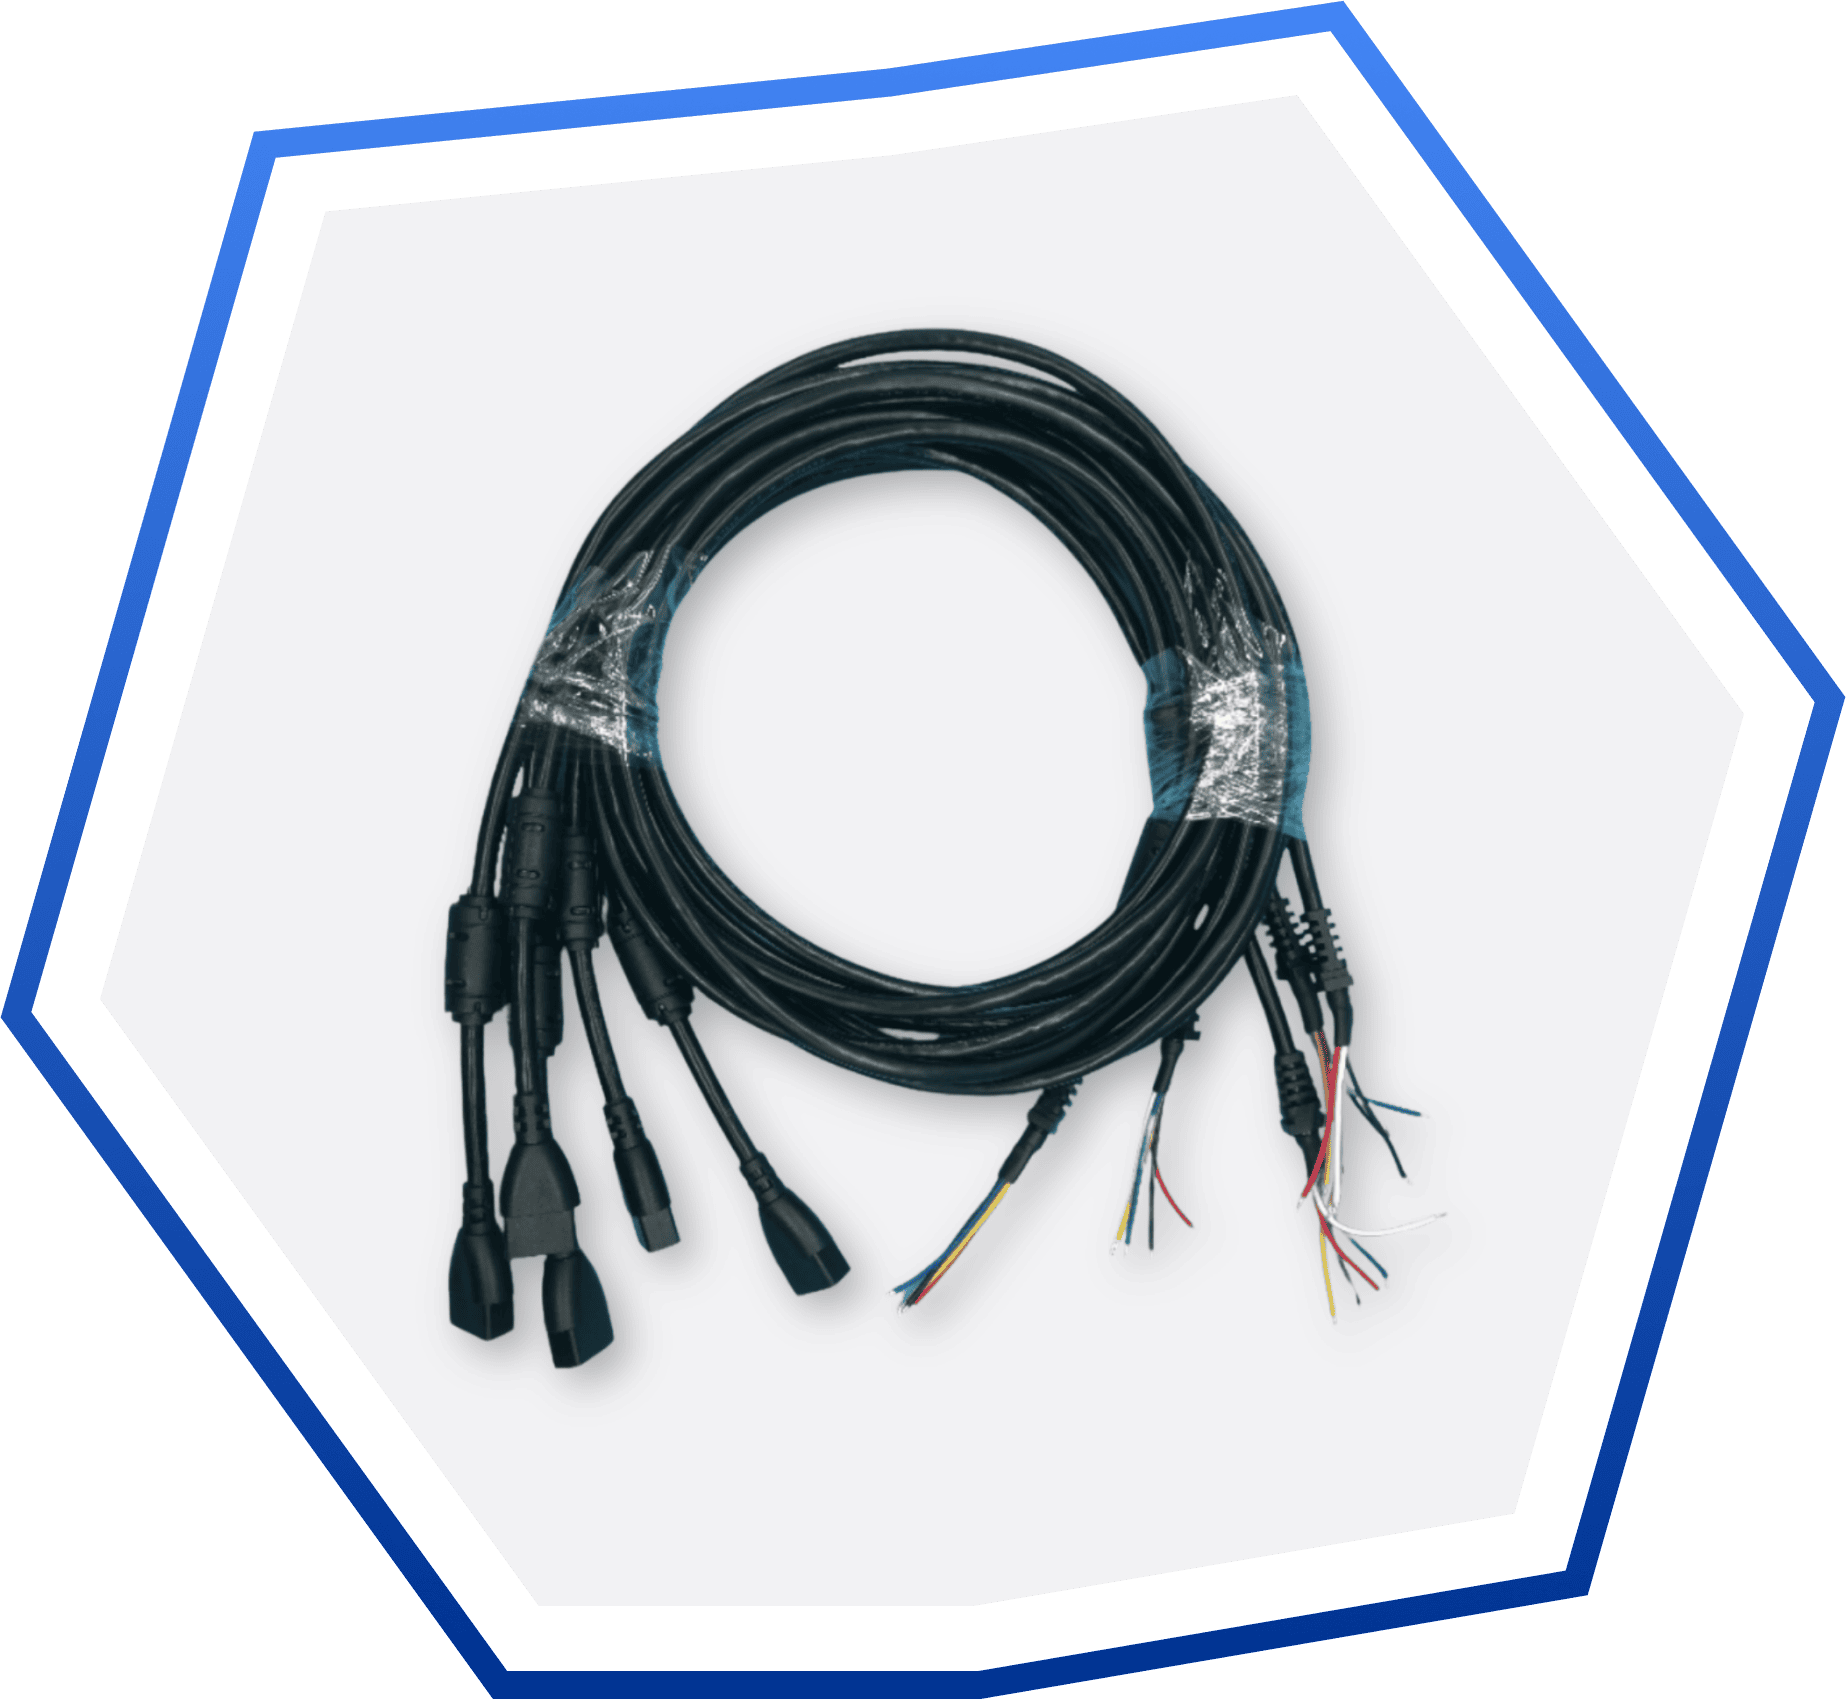
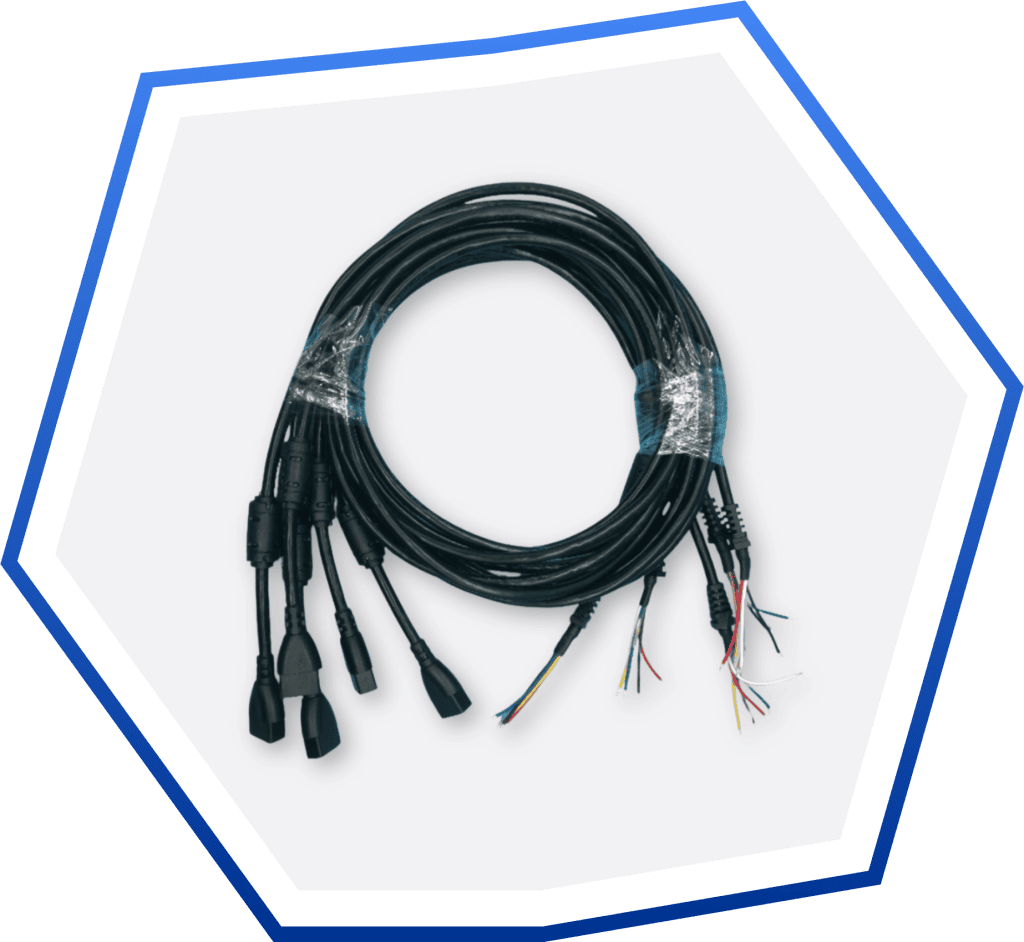
Wiringo is a leading manufacturer specializing in high-quality overmolded cable assemblies. We offer robust, customized solutions for durability and superior performance across various industries.
Our Clients


With precision engineering and advanced over-molding technology, our products offer superior protection against moisture, dust, and mechanical strain, making them ideal for industries like automotive, medical, and industrial automation.
We set ourselves apart through our commitment to customization. By working closely with clients to meet specific requirements, we deliver tailored solutions that meet strict industry standards and optimize performance in demanding applications.
The Benefits of Overmolded Cable Assemblies
Overmolded cable assemblies offer significant advantages for applications that demand durability and resilience in tough environments.
Enhanced Durability
Overmolding provides a robust protective layer that shields cables from abrasion, impact, and environmental exposure, significantly extending their lifespan.
Improved Strain Relief
The overmolded design adds strain relief at the cable connection points, reducing the risk of damage from bending or pulling.
Water and Dust Resistance
Overmolded assemblies offer superior sealing, which protects connections against moisture, dust, and other contaminants, making them ideal for harsh environments.
Compact and Streamlined Design
Overmolding allows for a more compact form, reducing bulk and simplifying installation in tight spaces or complex systems.
Increased Electrical Insulation
The overmolded material provides an extra layer of insulation, enhancing safety and minimizing the risk of electrical shorts or interference.
Get A Custom Wire Harness Quote Today!
Why Choose Wiringo?
Wiringo stands out as a trusted provider of overmolded cable assemblies, offering several key advantages that set us apart.

Fast Delivery
With streamlined production, Wiringo ensures quick turnaround times to keep your projects on schedule.

One-on-One Assistance
Dedicated experts provide personalized support throughout the design and production process.

Reliability and Quality
Wiringo’s overmolded assemblies are rigorously tested for durability and reliable performance in harsh environments.

Superior Custom Capabilities
Wiringo offers complete customization, from connector types to materials, for overmolded assemblies tailored to your needs.
Overmolded Cable Assembly Applications
Overmolded cable assemblies are essential in various industries where durability, reliability, and protection against environmental factors are critical.


Overmolded cables are used for power and data connections in vehicles, protecting against vibrations, moisture, and heat in demanding environments.

Overmolded cables ensure secure, reliable connections while protecting sensitive electronics from contamination and physical damage in medical devices.


Our cable assemblies are highly reliable and capable of critical support for signal travel equipment.


Original Equipment Manufacturers rely on overmolded cables for their products to ensure strong, durable, and well-protected connections.

Oil and Gas
Over-molded cables in the oil and gas industry resist extreme temperatures, pressure, and harsh chemicals, ensuring long-lasting performance in challenging environments.
Home and Office Appliances
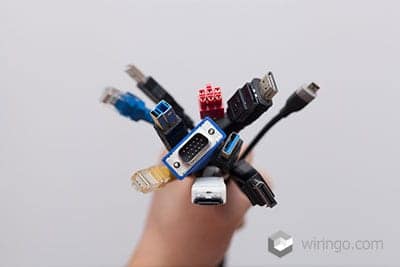
Overmolded cables in consumer electronics and appliances offer secure, safe connections that can withstand daily wear and tear.
Looking for The Best
Custom Wire Harness &
Cable Assembly Service?
Fast Turnaround Time
At Wiringo, we ensure that custom wiring harness solutions are tailored to your needs, with quotations delivered within 12 hours to keep your projects on track.
Certified Quality Assurance
Our factory is ISO9001 and IATF16949 certified, guaranteeing the highest standards of quality, reliability, and compliance for all custom wiring harness and cable assembly services.
One-Stop Custom Solutions
We offer a complete, one-stop solution for all your wiring harness needs, from design to manufacturing, ensuring you get exactly what you need for your project.
Our Manufacturing Capabilities
At Wiringo, our advanced manufacturing capabilities allow us to produce high-quality overmolded cable assemblies with precision and efficiency.
Services
We offer a comprehensive suite of services to ensure top-tier performance and reliability in every cable assembly:
- Designing
- Molding and Overmolding
- In-line Engineering
- Testing and Quality Assurance
Manufacturing Process
Overmolding a cable assembly is an injection molding process that adds a protective layer of plastic or rubber to the cable.
It starts with melting plastic or rubber pellets and any colorants or additives in a heated barrel. The molten material is injected under high pressure into a mold holding the cable assembly. Once inside the mold, the material cools and hardens, creating a durable casing that shields the cable from environmental damage.
Customizations
We offer fully customized over-molded cable assemblies tailored to meet the specific needs of residential, commercial, or industrial applications. From material selection to custom features like logos and connectors, our team ensures each assembly meets your unique performance, durability, and environmental requirements.
Safety Testing
We conduct rigorous safety testing on our injection-molded cable assemblies to ensure they meet high standards for durability and functionality. We test for:
- Resistance to environmental factors
- Electrical insulation
- Strain relief
- Secure integration of custom features
Certifications
Holding ISO 9001 and IATF16949 certifications, we manufacture high-quality over-molded cable assemblies.
Prototyping
We provide prototyping services for cable assemblies, allowing for early testing and adjustments to ensure optimal performance, durability, and compliance with industry standards.
Flexible Order Quantities
We offer flexible order quantities, allowing you to order small prototypes and large production runs tailored to your needs and timelines.
Overmolded Cable Assembly Products
Our overmolded cable assembly products are engineered to meet the diverse needs of various industries, offering reliable and durable solutions for a wide range of applications.
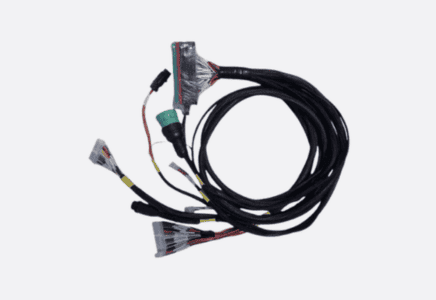
Automotive Cable Assemblies
Built to withstand the vibrations, heat, and harsh conditions of automotive environments, these assemblies ensure secure connections in vehicles' electrical systems.
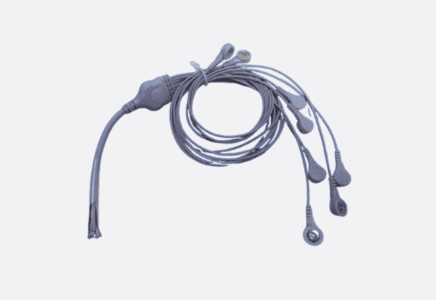
Data and Signal Cable Assemblies
These assemblies provide reliable data transmission while protecting against interference and environmental hazards, ideal for communications and networking applications.
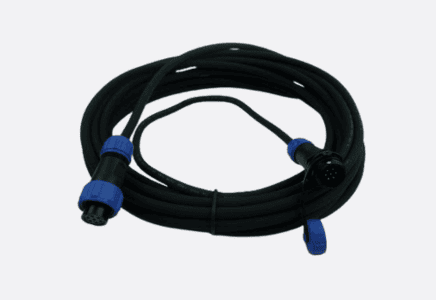
Industrial Equipment Cable Assemblies
These heavy-duty assemblies are engineered for industrial machinery and offer protection against extreme temperatures, vibrations, and abrasions.
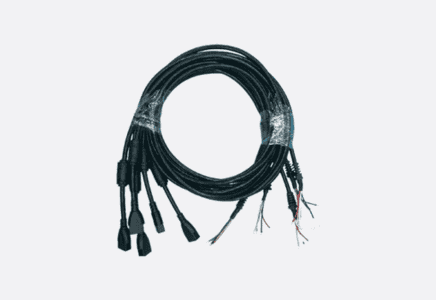
Power Cable Assemblies
Designed to deliver consistent electrical power, these overmolded cable assemblies are built for high durability and performance in power distribution systems.
What Our Customers are Saying
Our customers consistently praise our commitment to quality and customer satisfaction.

I have received an shipment of the cables that was supplied (p/o : 5130903714 )
I would like to say thanks you , to you and your staff ( factory ) well done.
I am very happy with the quality of the work, ( C )

Thank you very much for your hot support and efforts for our parts supply.
We received your DC cables with thanks a lot.
All parts passed inspection successfully!

Lead Engineer
I just received the cables. Once again, we are very pleased with the results. We are also looking forward to further cooperation in the future.
Please take care.

I could not ask for anything better in terms of quality since everything arrived in perfect condition.
Thank you very much and I look forward to future projects with Wiringo.
Thanks again for Wiringo's hard work in making this project a success.
Frequently Asked Questions
What is the difference between overmold and pre-mold?
Overmolding involves injecting material around an existing cable or connector to create a protective coating. At the same time, pre-molding refers to making a part from a mold before it is assembled into the final product.
Overmolding is typically used to enhance the durability and functionality of the assembly, whereas pre-molding is more common for creating specific components before integration.
What is the difference between single and multi-cavity molds?
A multi-cavity mold produces multiple parts simultaneously, increasing production efficiency, while a single-cavity mold can make one per cycle. Multi-cavity molds are ideal for high-volume runs, allowing for faster production and more cost-effective manufacturing.
How do I choose suitable materials for my overmolded cable assembly?
Choosing the suitable material depends on factors like the environmental conditions, mechanical stress, electrical requirements of the application, and tooling materials.
Choose Wiringo’s Overmolded Cable Assemblies
Choose Wiringo’s overmolded cable assemblies and wire harnesses for high-quality, reliable solutions tailored to your needs. Contact us today to get started on your custom project.


