In purchasing the PCIe cable, one thing is very certain. You hope to get good results from its use. There is no joy when you do not get appropriate results from using an item that belongs to you.
It is not strange that the PCIe cable comes in various forms and sizes. Except you understand how to use this cable, it is possible to own it and not know how to get the result you desire. But, if you still experience difficulty getting the appropriate information from your motherboard, the information you need to make it work for you is available in this article.
Take a ride with me!
Get Your Free Sample!
Explore our custom services now. Email us at [email protected] for more details.
Chapter 1: What is PCIe?
PCle is an abbreviation for Peripheral Component Interconnect Express. Sometimes, the PCIe are written as PCI Express or PCI-E. The PCIe is an innovation for older versions such as AGP and PCI.
The PCIe are the expansion slot on the motherboard of a computer system. It is also a standard way of connecting devices to a computer system. But, its compatibility depends on the motherboard’s capacity to accept the various expansion card.
There are a variety of expansion slots on the computer. Yet, the PCIe remains the only way to connect all the internal features of the computer. As a result, manufacturers pay attention to using motherboards that use PCIe.
The right way to use PCIe
Like the older versions, the PCIe is easy to use when you slot it into its appropriate slot on the motherboard. The PCIe can harmonize the functioning of all the other parts of the computer hardware. It enables an appropriate level of communication between the motherboard and the device.
Another version of the PCIe is the external PCIe. It is not very common, and only a few people know about its existence. Yet, it is still unarguably important.
Making use of the external PCIe requires the presence of an external facility to aid connectivity. The only way to connect the external PCIe is to use a device that can connect easily to the computer’s port. The port that enables this ease of access is usually at the back of the computer, and it is either allowed by the motherboard itself or the internal PCIe card.
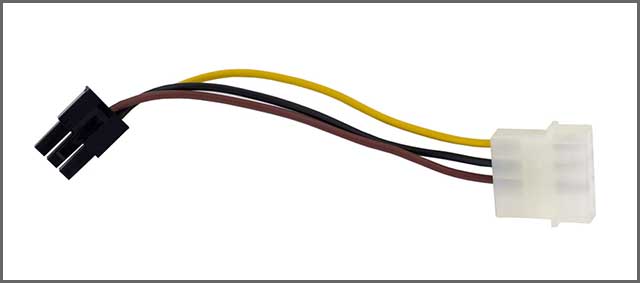
PCI and PCI-X vs PCIe
While there are a lot of similarities between PCI and PCIe cable, there are also notable differences. It is also important to emphasize that PCIe cable is a newer version of PCI.
PCI is an acronym for Peripheral Component Interconnect. It is also a standardized device that enables speed in the transfer of data connection. It is a device that permits devices within the computer to connect correctly and make use of their capabilities. It is useful for adding internal components to a computer system. It is an older version that enables the connection of computer hardware to a computer device.
On the other hand, the PCIe is a newer PCIe cable. Unlike their counterpart, which uses the parallel interface, the cable uses a serial interface. Additionally, it provides for increased speed in its transfer rate and makes it easy for individuals to use it. This device also helps when there is a need to detect errors and achieve the right reporting formats. The PCIe cable is a suitable replacement for PCI and PCI-X bus standards. It depends greatly on the number of lanes you want to use it for. The PCIe cards are faster than their counterparts.
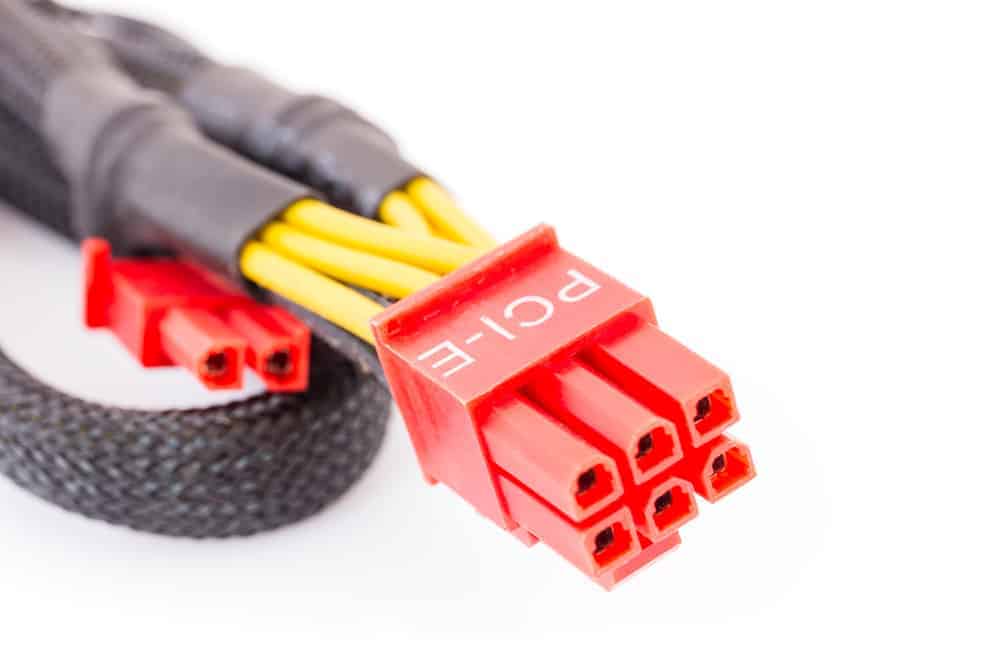
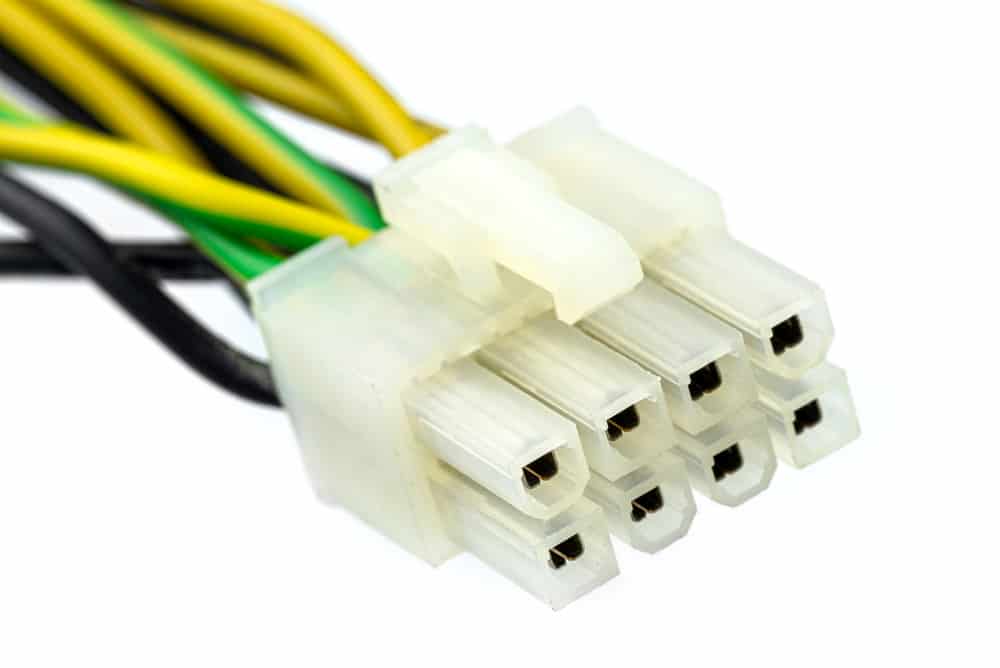
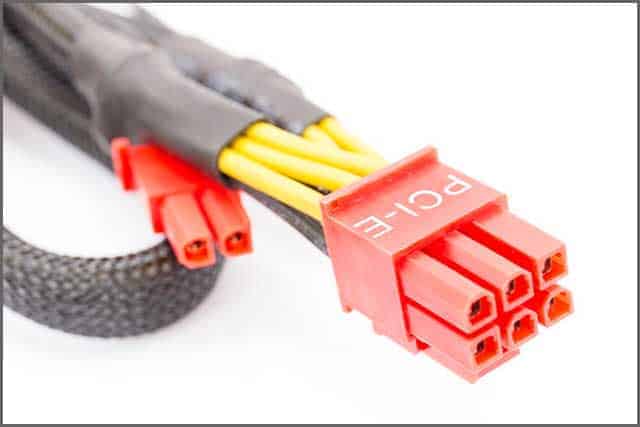
Chapter 2: What is the PCIe Cable?
PCIe cable is a very efficient cable connecting different electronic devices. Most times, it is between a computer and peripheral devices. Some devices that use the PCIe cables are adapter cards, accelerator cards, NIC, and other high-performance peripheral devices.
The PCIe cables effectively lower the latency level and the rate at which data transmits from one device to another. It is more effective than PCI and PCI-X.
It is difficult for data transmission to be affected because the different peripheral devices use a unique bus. When you connect a device to the PCIe link, the devices are not competing with one another. This is because the various devices possess their unique point that differs from the next.
Speed of the PCIe Cable
Want to get the right speed? It is acceptable to connect to a gigabit or other network technologies that make it easy for individuals to use it.
Compatibility of the PCIe Cable
In using laptops and some mobile devices, there is a need for mini PCIe cards that make it an enjoyable experience. These mini cards help to connect wireless adapters and improve the performance of the devices.
Get Your Free Sample!
Explore our custom services now. Email us at [email protected] for more details.
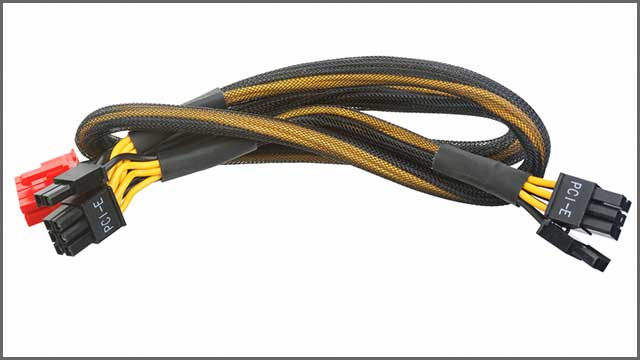
Chapter 3: The Price of PCIe Cables
There are differences between PCI and PCIe cables. It is always hard for individuals to identify these differences, especially as they both look alike. The PCIe cable is notable for possessing backward compatibility with other versions of the PCIe cable slot.
The PCIe cable slot on a motherboard comes in various forms. The uniqueness of the PCIe cable is evident in the number of lanes on the wire. The lanes on the PCIe cable vary. It is easily identified with the numbers one, four, eight, twelve, sixteen, and thirty-two. It is possible between the numbers one to thirty-two.
The factors that affect the lanes of the PCIe cable are mostly the price and performance of the cable. The number of lanes on the PCIe cable mainly depends on the wire’s cost and the way it performs.
For instance, if a PCIe cable possesses only four lanes, it will be affordable for individuals who wish to purchase it. This does not prove that the PCIe cable with four lanes is better than the other.
Similarly, the PCIe cable, which has thirty-two lanes, will be more expensive than the other. Also, its performance is top-notch, as it performs better than the different types of PCIe cable lanes.
Chapter 4: Why do we need PCIe Cables
Recently, the demand for a better cable version that accommodates all kinds of video cards has been overwhelming. Many individuals are desirous of using better video editing tools, which is the major reason behind the introduction of PCIe cables.
The most common type of PCIe cable card that individuals use is the video card. The number of increasingly better connections through CPU, motherboard and RAM for PCIe cable is overwhelming and keeps improving daily.
A closer look at many high-end sound cards proves that the PCIe cable is gradually becoming the most favored cable type. Additionally, a large number of network interface ends. Both devices that are wired and even wireless are slowly making the rounds.
If any device has shown positive signs in using PCIe cable, it is the hard drive controller. The tremendous benefit of PCIe is interestingly positive. The hard drive controller is positively in place after video cards benefit from using PCIe cable.
The best device is the SSD to get a high-speed level with a PCIe cable. SSD is an excellent storage device that is compatible with the PCIe cable. Through this device, it is faster to write and write into any device of your choice.
Chapter 5: Where to Buy the Custom PCIe Cable?
Individuals who wish to replace PCI with PCIe cable do it with ease without experiencing any difficulty in the process. It depends largely on its lanes to function accordingly. The larger the number of lanes, the better it performs, and vice versa. It is also suitable for gigabit Ethernet cards and other high-end devices. It is very compatible with all PCI-enabled devices, which helps it transmit its data at high speed.
The question of where to purchase suitable cable concerns many individuals. Realistically, it is not difficult to get the right type of size to use for your motherboard. This difficulty results in not reaching your expectations from using the cable. It is easy to avoid such circumstances with the right tech company to guide you.
The best Tech firm to trust with this issue is Wiringo, which has all the necessary information and skills to meet your expectations. With us, the chance of making mistakes or purchasing the wrong size for your computer never arises. We are readily available to help you with PCIe cables. All you need to do is to contact us and leave us to do the rest for you.
Conclusion
It is only tricky when you do not know how to go about it. Information is key, so it is appropriate to state that using the cable is very easy with the right information at your disposal. Feel free to contact us and see us help you get optimum satisfaction from using PCIe cables.

Hommer Zhao
Hommer Zhao serves as Director of Wiringo, leveraging a wealth of expertise in custom wire harness and cable assembly.
Drawing on more than a decade of hands-on expertise in the electronics field, Hommer focuses on wire harness manufacturing, custom cable assembly, and expedited restricted product production. His operations include a pair of wire harness production facilities and two dedicated PCB manufacturing & PCBA sites, all strategically located across Shijiazhuang, Shenzhen, Jiangmen, and the Philippines.
Hommer frequently refers to resources like Wiring Harness News for up-to-date insights and methods related to wire harness production.
Beyond his research and reading, Hommer also contributes to the Wiring Harness Manufacturer’s Association (WHMA), which offers invaluable resources and professional guidelines to wire harness specialists.
Get Your Free Sample!
Explore our custom services now. Email us at [email protected] for more details.