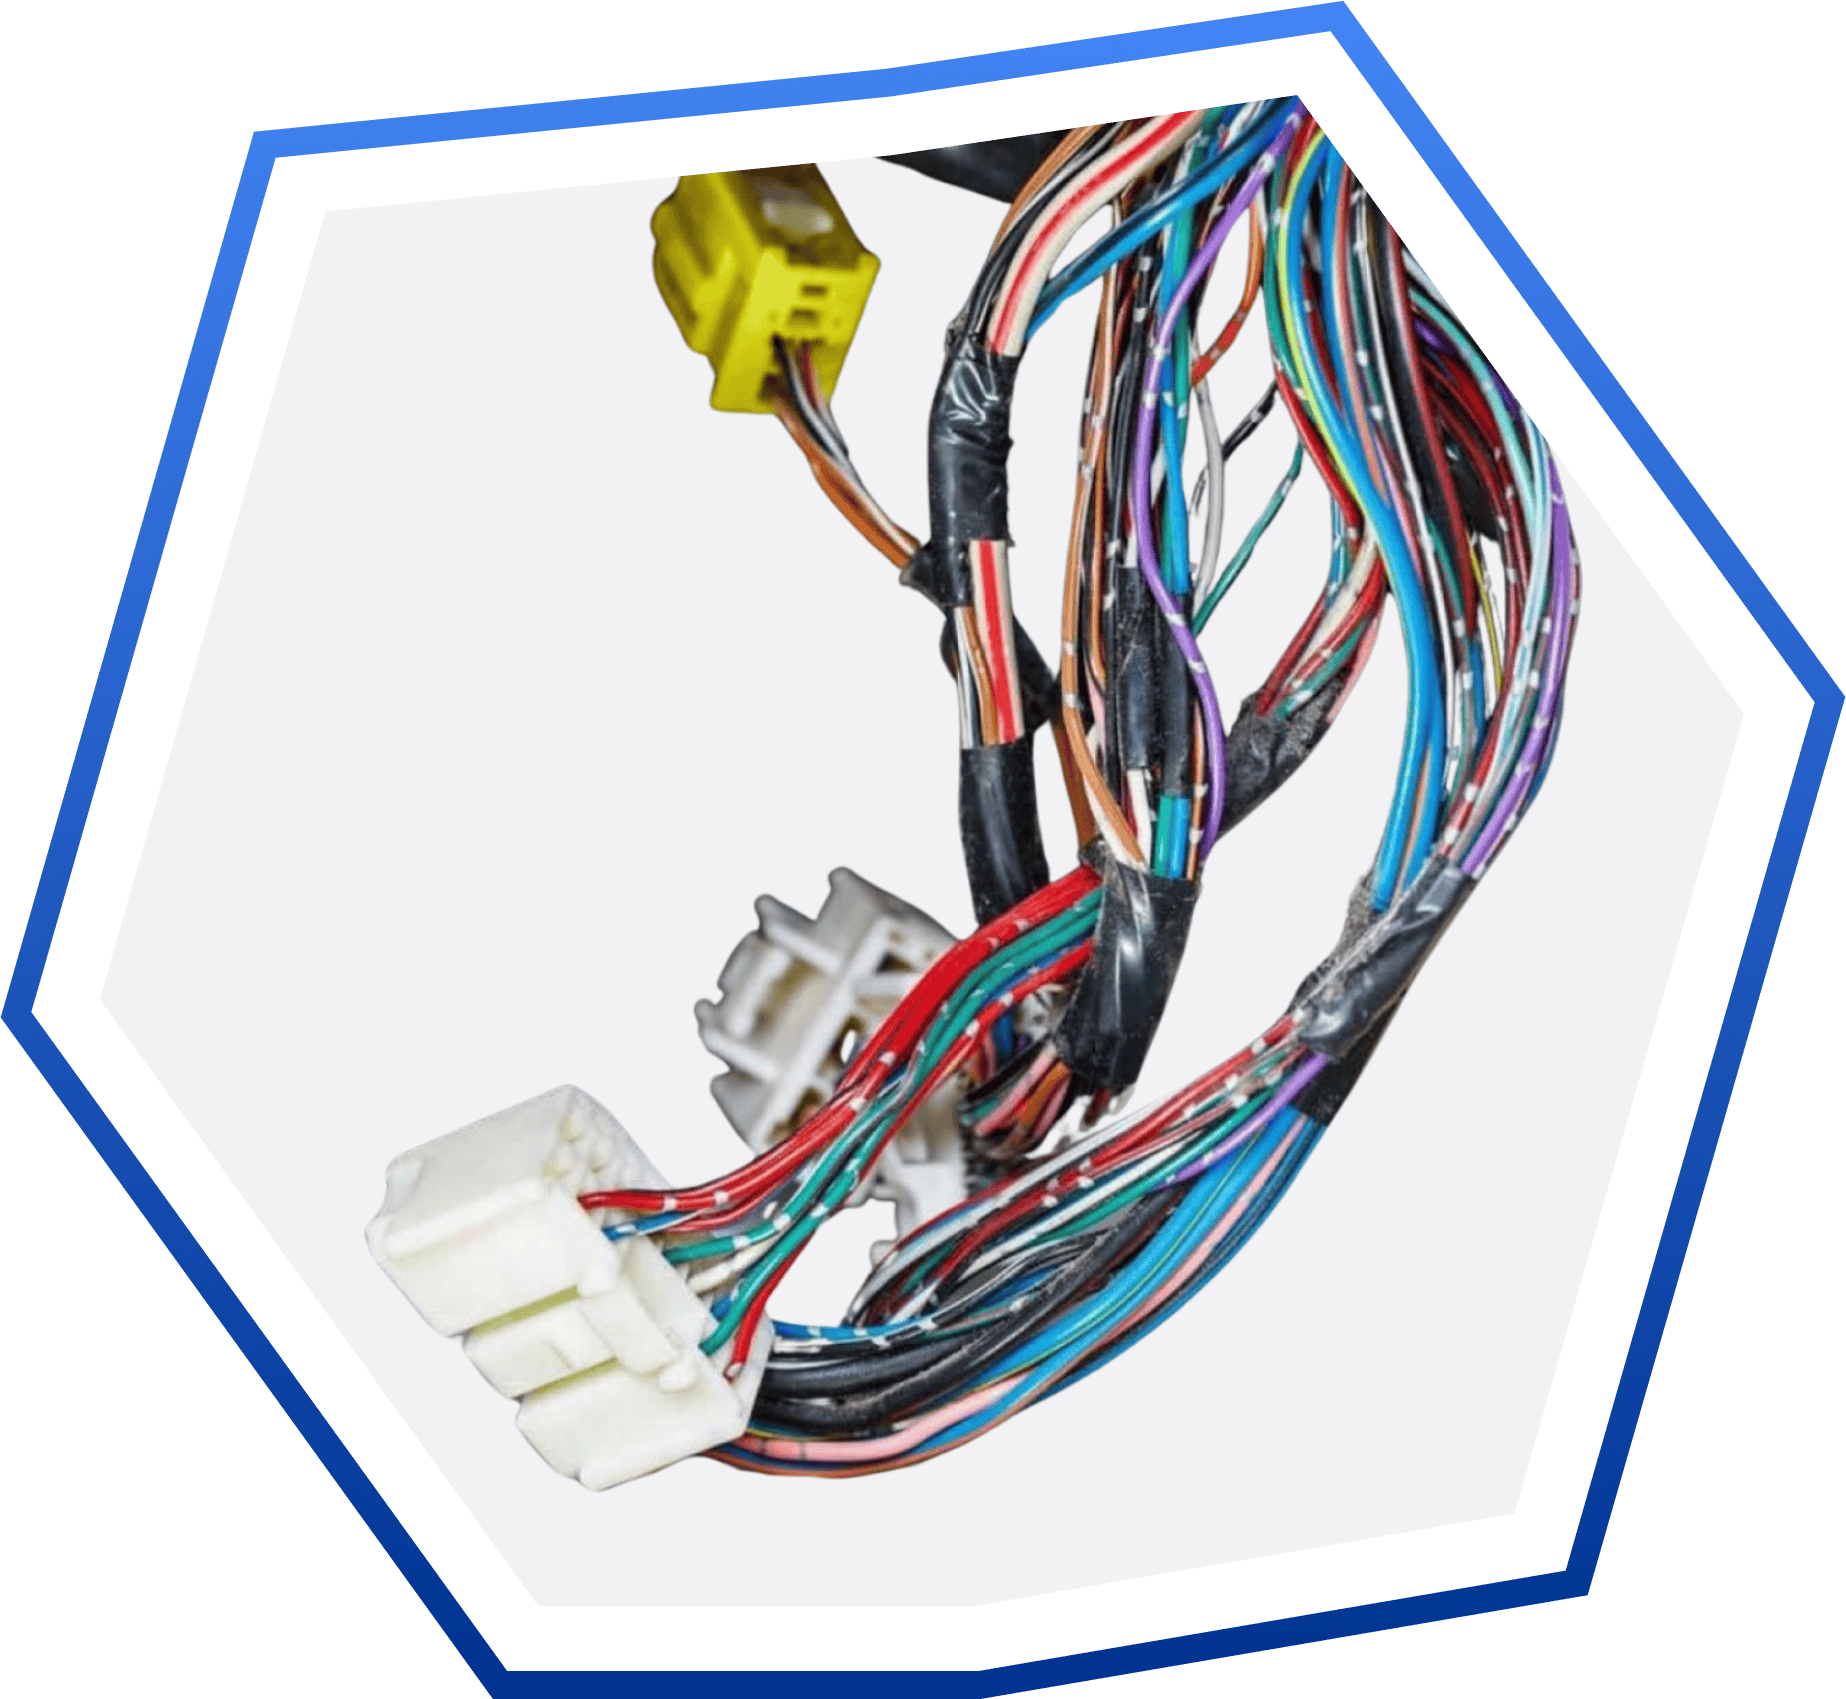
Custom Wire Harness Manufacturer
As a member of the Wiring Harness Manufacturers Association and having IATF16949-certification, we are capable of manufacturing high-quality custom wire harnesses tailored to meet the exact requirements of various industries and guarantee fast product delivery. Large-scale and small batch order quantities are available.
Our Clients


Wiringo specializes in manufacturing high-performing OEM wire harnesses that can thrive in demanding environments.
With over a decade of experience, we are dedicated to solving complex wiring challenges for OEM customers. We offer factory wiring harness replacements that enhance efficiency and reduce warranty liabilities while meeting the specific needs of your projects.
The Benefits Of Outsourced Wire Harness Manufacturing
Here is how your business will benefit from outsourced wire harness manufacturing:
Cost Efficiency
Outsourcing saves significant costs by reducing spending on labor, sourcing raw materials, overheads, and operational activities.
Expertise and Quality
Dedicated wire harness manufacturers have extensive experience and specialized equipment for producing different designs and delivering high-quality products with fewer errors.
Quick Turnaround Times
Wire harness manufacturers have the necessary infrastructure for producing large order volumes and bringing products to market faster.
Scalability
Expert manufacturers can scale up production on demand. It’s easier to adjust orders without any major additional investments.
Global Reach
Outsourcing custom wire harness production provides access to a global network of suppliers and manufacturers so that companies can source materials and production capabilities that suit their needs best.
Flexibility
Opt for the flexible route and work with multiple manufacturers who already have the machinery in place to deliver your custom orders.
Get A Custom Wire Harness Quote Today!
Why Choose Wiringo?
Wiringo is a trusted wire harness manufacturing partner that ensures quality, innovation and efficiency.

Custom Solutions
Whether it’s design, specifications or material choice, we work closely with our customers to deliver the perfect harness you are looking for.

Decades of Experience
For more than 15 years, Wiringo has been manufacturing everything from simple harnesses to extremely complex systems with hundreds of harnesses.

Advanced Technology
Our manufacturing plants are equipped with state-of-the-art equipment, from bench-top crimp machines to robotic wire processing and innovative manufacturing technologies. We ensure precision and consistency in every product we deliver.

Strong Supply Chain
We have established long-term strategic partnerships with many global component suppliers, including Future Electronics, Arrow Electronics, and Element 14. Our purchasing department ensures the quality of raw materials while reducing costs.

Comprehensive Support
Wiringo offers comprehensive support throughout the entire manufacturing process, from initial design consultation to post-sales support.

Quality Assurance
To comply with industry standards, we have rigorous testing infrastructure, including an extensive testing network, automated testing equipment and a dedicated third-party team that conducts, verifies, and validates all testing procedures.
Unrivaled Manufacturing Capabilities
Wiringo delivers customized wire harness solutions designed to meet your specifications with precision and expertise.
Fabrication Services
Design support from prototype to production. Comprehensive manufacturing solutions including crimping, cutting, coiling, connecting, marking, soldering, ultrasonic wire welding, and more.
Wire Harness Assembly Services
Embedded logos or text on the harnesses, labeling, tie wrapping, unlimited selection of insulation style, wire gauge, wire number, and color. You can also choose any breakout number and location. To maintain quality standards, we perform 100% visual and continuity testing on all harnesses.
Harness Features
Combat environmental hazards with customized materials to meet your project requirements, such as oil-resistant, heat-resistant, abrasion-resistant, and water-resistant.
Connector Types
A diverse range of connectors: Delphi, Molex, Tyco, JST, Yazaki, and Deutsch brand terminals and connectors.
Covering
Varied coverings are available to enhance durability and protection, such as PVC, XLPE, Rubber, Nylon, braided sleeving, wrapping, plastic overmolding, or heat shrink tubing.
Wire Thickness and Length
Customized wire length to meet electrical load requirements. Based on current capacity, flexibility, and environmental conditions, we offer many wire thicknesses, from 30 AWG to 0 AWG.
Industry Standards
Comply with strict industry regulations and quality standards, including ISO, RoHS, UL, and REACH.
Featured Wiring Harnesses
Explore our diverse range of custom wire harness assemblies.
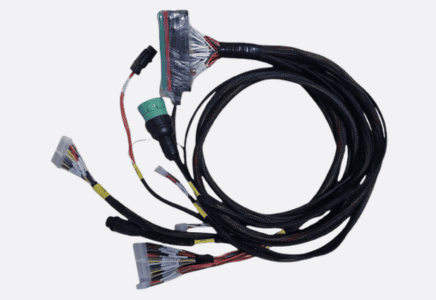
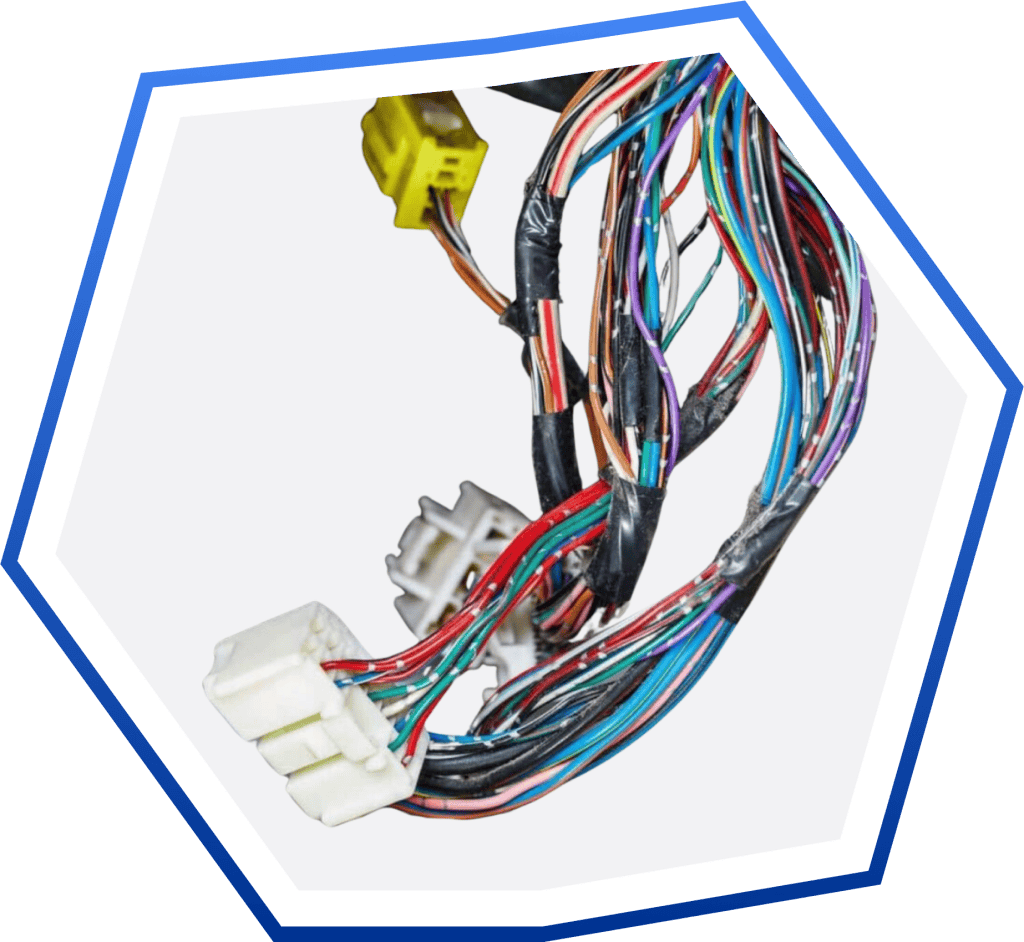
Instrument Wire Harness
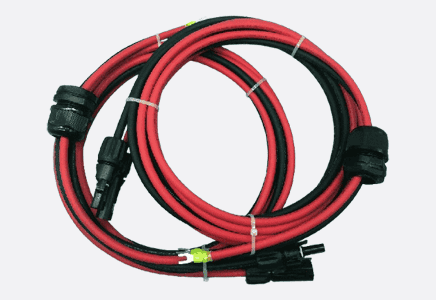
Solar Panel Extension Cable Black+Red Flexible Wire+Connectors
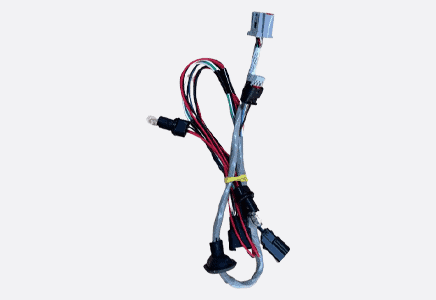
Ignition and Light Switch Harness
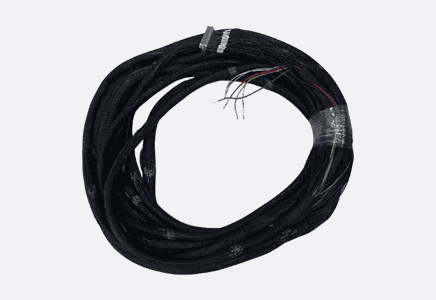
Front Wiring harness
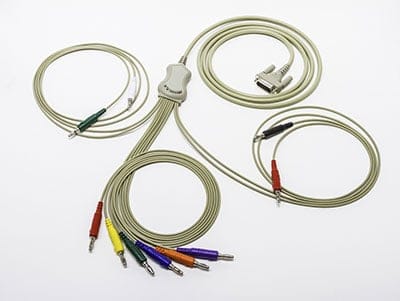
Leadwire for ECG Monitor
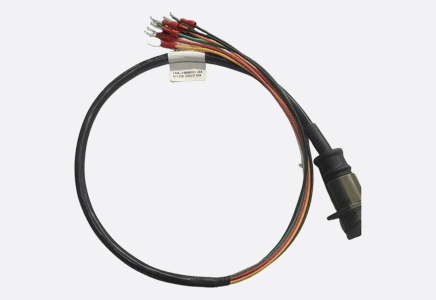
Mil-spec connector to fork terminal transmitter cable assembly
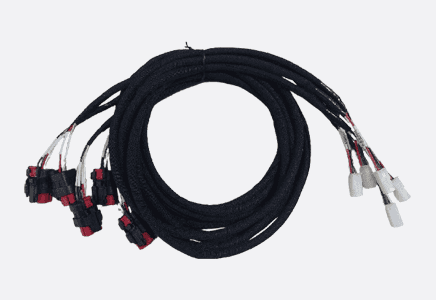
Steering Column Wire Harness
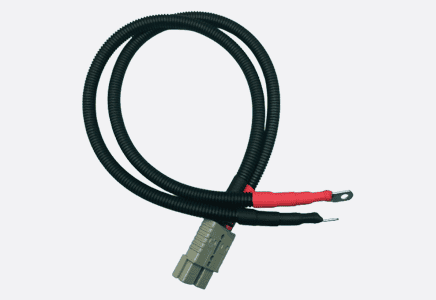
Anderson GRY to Battery Terminal Cable Assembly
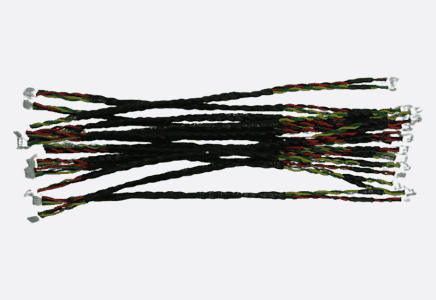
Internal Connection Wire Harness with Rest IDC connectors
Indust ries We Serv e
We manufacture custom wiring solutions to meet the unique demands of various industries, ensuring quality, reliability and motivation.


Automotive industries need harnesses designed with lightweight materials without compromising durability and safety. We offer precision-engineered wiring solutions for seamless integration.


Telecommunication
Our cable assemblies are highly reliable and capable of critical support for signal travel equipment.
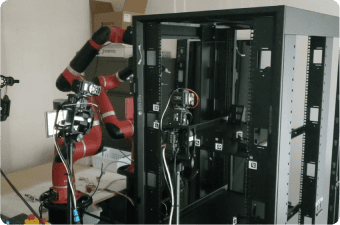

Our robotic wiring harnesses can handle the challenges of integrating with complex robotic systems. We ensure flexibility and customization in these harnesses to perform better.


We ensure high standards in medical wiring harnesses suitable for critical medical equipment such as diagnostic imaging systems, ventilators, and patient monitoring devices.
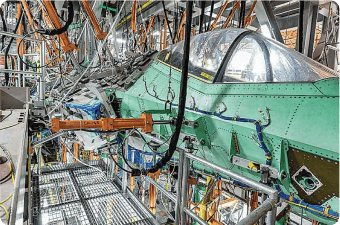

Aerospace harnesses demand stringent regulatory compliance with high quality, durability and reliability. We ensure that our products deliver everything while seamlessly connecting with avionics and control systems.

We design wiring harnesses for OEMs that meet customization and quality control requirements, and overcome many common integration challenges such as space constraints and component layout.


Lighting
Lighting harnesses need to maintain durability, should be customized, adhere to safety standards and facilitate easy installation.


Electronics
We deliver compact electronic wiring harnesses to fit into small devices, ensuring optimal performance, connectivity and functionality.
What Our Customers are Saying
See what thousands of happy customers have to say about Wiringo’s commitment to product quality and customer service.

I have received an shipment of the cables that was supplied (p/o : 5130903714 )
I would like to say thanks you , to you and your staff ( factory ) well done.
I am very happy with the quality of the work, ( C )

Thank you very much for your hot support and efforts for our parts supply.
We received your DC cables with thanks a lot.
All parts passed inspection successfully!

Lead Engineer
I just received the cables. Once again, we are very pleased with the results. We are also looking forward to further cooperation in the future.
Please take care.

I could not ask for anything better in terms of quality since everything arrived in perfect condition.
Thank you very much and I look forward to future projects with Wiringo.
Thanks again for Wiringo's hard work in making this project a success.
Looking for The Best
Custom Wire Harness &
Cable Assembly Service?
Fast Turnaround Time
At Wiringo, we ensure that custom wiring harness solutions are tailored to your needs, with quotations delivered within 12 hours to keep your projects on track.
Certified Quality Assurance
Our factory is ISO9001 and IATF16949 certified, guaranteeing the highest standards of quality, reliability, and compliance for all custom wiring harness and cable assembly services.
One-Stop Custom Solutions
We offer a complete, one-stop solution for all your wiring harness needs, from design to manufacturing, ensuring you get exactly what you need for your project.
Frequently Asked Questions
What is the lead time for a custom wire harness?
Our lead time depends on complexity and order volume. Typically, our turnaround time is 2-6 weeks. For urgent requests, you can discuss the timeline with our expert team.
How do I get a quote for a custom wire harness?
To receive a quote, you need to provide detailed specifications, including wire lengths, connectors, wire materials, and other specifications. You can submit a request through our website.
Do you provide samples before final production?
Yes, we can provide prototypes or samples for review before commencing full production. We move ahead only if the prototype meets your exact requirements.
How do you handle shipping and delivery of custom wire harnesses and cable assemblies?
We have multiple shipping options to ensure timely delivery of your products. We will provide the shipping costs and methods in the quote.
What is your production capacity?
We can accommodate small and large orders, as well as scale production to meet specific customer needs, without compromising quality.
Choose Wiringo’s Custom Wire Harness Solutions
We strive to deliver durability, quality and precision in every harness we deliver. Request a quote today!


